A photo album is already precious because it preserves memories but when you add the right clipart your story becomes much more vibrant. Clipart helps create focal points set the theme and unify the style throughout the album. This way viewers will not just skim through the images but will also feel the atmosphere of a trip a party or a family milestone.
Preparation
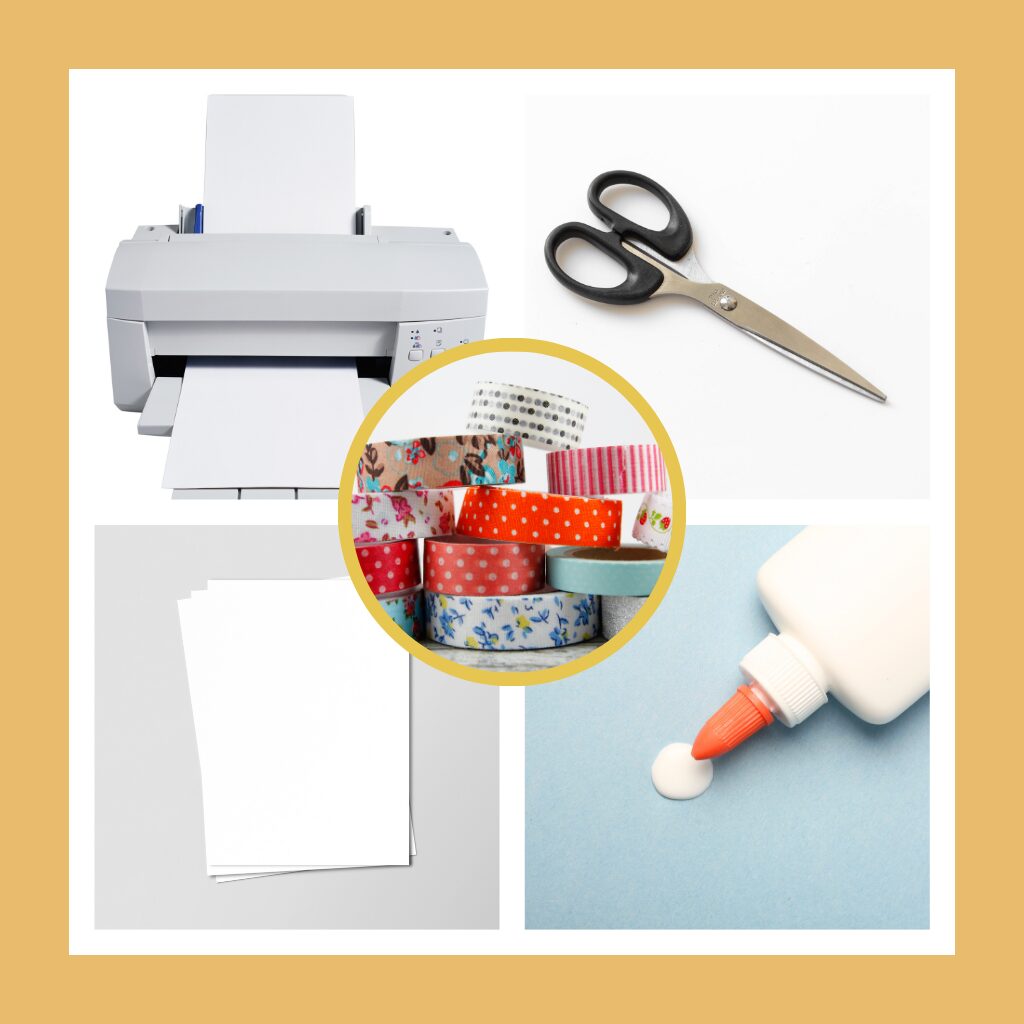
Select a set of photos a few themed clipart packs and tools like Canva PowerPoint or Google Slides. If you want a physical version prepare printing paper scissors washi tape and acid free glue. Once ready choose a main color palette so every page looks cohesive from start to finish.
Choosing a Theme and Color Palette
To make each page visually appealing decide on the theme right from the start. For example a travel album works well with ocean blues and sandy yellows while a baby album suits soft pastel tones. Once you have your palette stick to a few main colors and repeat them consistently in titles photo frames and clipart to keep the design harmonious.
Easy Layout Ideas
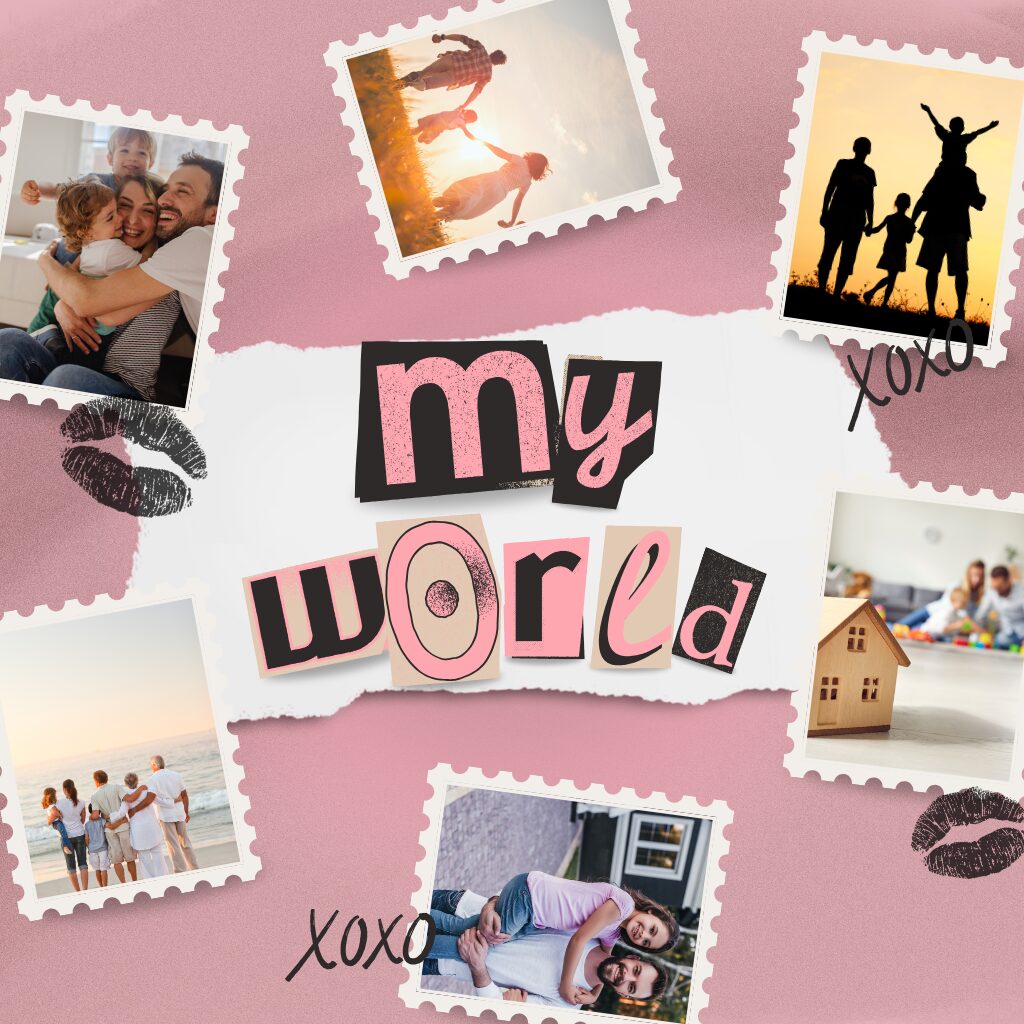
You can start with a neat grid layout to tell your story in chronological order. If you prefer a journal style use polaroid frames add dates and locations. For a standout page place one main photo in the center surrounded by small clipart elements like flowers stars or bows. A postcard style layout can also be fun combining stamps postmarks and mini maps.
Step-by-Step Guide
First choose three to five key photos for each page to avoid clutter. Place the largest photo in the focal point often in the center or top left corner. Next drag and drop clipart in small groups of two or three to create visual rhythm. Once the main layout is set add a short title and date so viewers can understand the context. Finally adjust the spacing between photos and clipart to give the page enough breathing room making it light and easy to view.
* Tips for Harmonious Clipart Placement
Limit the number of clipart elements on a page so the main focus remains on the photos. Use clipart that is smaller than the photos to avoid overpowering them. Repeat one design element two or three times in different spots such as corners edges or below titles to create a sense of connection. When you want something to stand out increase the saturation of a small detail like a bow or heart to instantly make the page livelier.
Printing and Finishing
Once you are satisfied export the file in high resolution for sharp printing. If printing at home use thick paper between 200 and 230 gsm for a sturdy feel. Before gluing place all elements on the page to check the layout. Start gluing from the main photo then move on to clipart and finally labels or text. This ensures everything is aligned and straight.
Storage and Display
After finishing store your album in a hard cover case in a dry place. If you plan to give it as a gift wrap it with an outer cover and tie a ribbon in a matching color. For sharing on social media take photos in natural light and keep the camera straight to maintain true colors.
Ready to Begin
Now choose a set of photos decide on a color palette and download a few matching free clipart packs at cliparte. In just one afternoon you can create pages that are both neat and full of emotion ready to keep or proudly share with family and friends.


